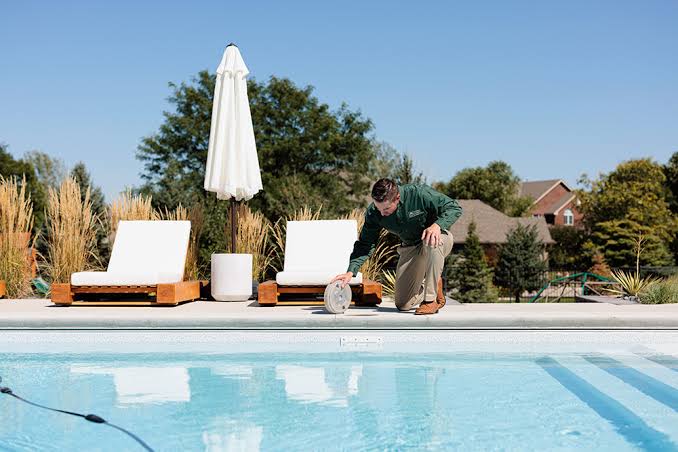
If you own a swimming pool or spa, staying on top of safety requirements isn’t just good practice, it’s the law. A pool inspection in Melbourne can feel stressful if you’re not sure what inspectors look for, but with a little preparation, the process is straightforward. Here are some simple tips to help you get ready and avoid costly delays.
Understand Why Inspections Matter
Every year, backyard pools present real safety risks, especially for young children. Local councils and registered inspectors check that barriers, gates, and signage meet current standards. Understanding the rules around pool compliance in Victoria helps you see inspections as a safety measure rather than a hassle. A compliant pool protects your family, your visitors, and your property value.
Check Your Pool Barrier
The barrier is the first thing an inspector will examine. Walk around your fence and check that:
- The barrier is at least 1.2 metres high
- There are no gaps larger than 100mm at the bottom or between vertical bars
- The fence is free from damage, rust, or loose panels
- Nothing is climbable near the fence, such as furniture, pot plants, or bins
Non-climbable zones should be clear, so trim back any overhanging branches and move objects at least 900mm away from the barrier. Meeting these basics is central to pool compliance in Victoria.
Test the Gate
Pool gates must swing away from the pool, self-close, and self-latch from any open position. Test yours several times. If the gate sticks, drags, or fails to latch properly, adjust the hinges or replace worn springs before your inspection. Also make sure the latch is at least 1.5 metres from the ground, or shielded appropriately if lower. A faulty gate is one of the most common reasons pools fail during a pool inspection in Melbourne.
Display Proper Signage
Clear safety signage is mandatory. Make sure a CPR sign is displayed near the pool, and that it is up to date, legible, and easy to see. Faded or outdated signs should be replaced. This is a small, inexpensive fix that many owners overlook.
Inspect Doors and Windows
If your house forms part of the pool barrier, windows and doors must comply as well. Windows should be fitted with security screens or restrictors, and doors should self-close and latch where required. Check that nothing has been altered since your last inspection.
Keep Records Handy
Gather your previous certificates, permits, and any maintenance receipts. Having these documents ready shows you’ve been proactive and can speed up the inspection. Also check when your next certificate of compliance is due, as Victorian requirements include registration and periodic inspection.
Fix Small Issues Early
Don’t wait until the inspector arrives to discover a problem. Repair loose screws, tighten hinges, tidy the surrounding area, and clean the pool space. Addressing minor faults early can prevent a failed inspection and additional re-inspection fees.
Book a Qualified Inspector
Finally, choose a registered, experienced pool inspector who understands local regulations. A professional can identify hidden issues, explain what needs fixing, and guide you through the paperwork. Booking early also gives you time to make any required repairs before deadlines.
Final Thoughts
Preparing for a pool inspection in Melbourne doesn’t need to be complicated. By checking your barrier, testing your gate, updating signage, and keeping your documents organised, you can pass with confidence. Staying informed about pool compliance in Victoria not only keeps you on the right side of the law but, more importantly, keeps your loved ones safe around the water. Start your checks today, and enjoy your pool with peace of mind.